
About DMX
DMX512, often referred to more simply as DMX, is the most common control interface for commercial lighting systems in the entertainment industry. It’s such a common acronym that nobody remembers what it means, but it actually stands for Digital MultipleX.
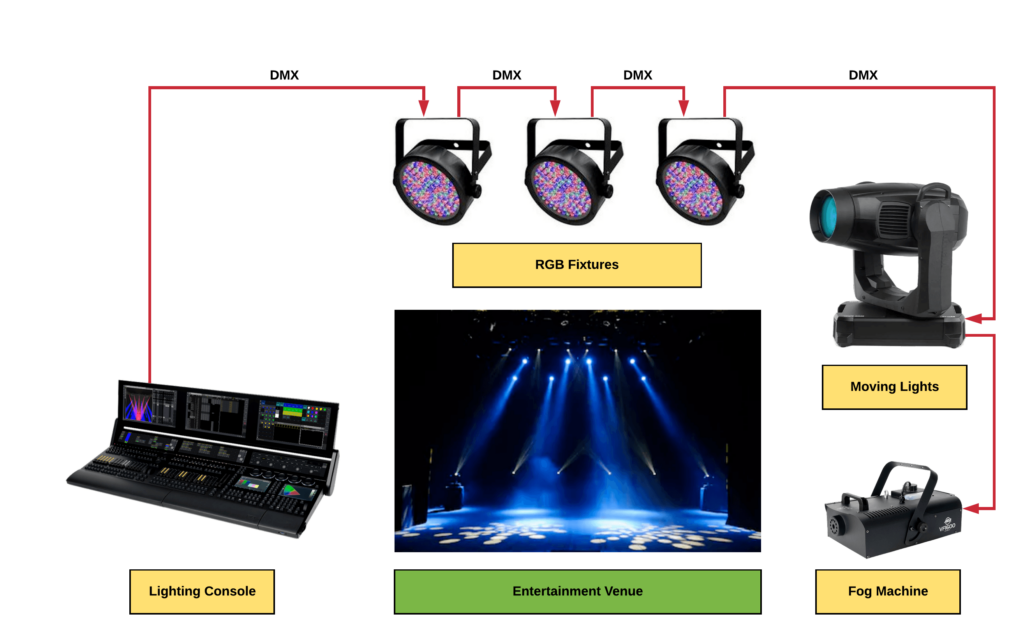
DMX is nothing more than a data signal that originates from a lighting controller and is distributed to many different types of lighting fixtures and other entertainment devices like fog machines, dimmers, media servers, etc. Whether you realize it or not, if you’ve ever seen a concert, theme park attraction, museum, fountain show, or even everyday commercial buildings; you’ve seen DMX in action.
Here’s the general idea:
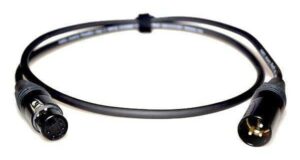
Now, let’s talk a little bit more about how this works so we can learn to use DMX effectively. At the nitty-gritty level, DMX512 is basically a serial data stream that’s transmitting an array of 512 byte-sized values repeatedly at a rate of up to 40 times per second (40Hz). Electrically, this is done using a balanced 3-pin or 5-pin XLR cable using the RS422/RS485 serial standard.
I know what you’re thinking… “That all sounds very techy. Couldn’t we come up with some terminology that doesn’t require a degree in Electrical Engineering?!?” Well, you’re in luck!
The industry usually describes these concepts a little more simply by identifying the 512-byte array as a Universe. Instead of bytes, we typically refer to each value as a Channel. Under the hood, each channel has a value that ranges between 0-255 (the decimal range of a byte of course), but most lighting systems simplify this concept by visualizing this as a 0-100% value where 0% = 0, 100% = 255, 50% = 128, etc. The rate at which the DMX Universe is repeated is commonly referred to as the Refresh Rate.
Here’s what that all looks like visualized:

Just to recap, we have a Universe of 512 Channels, whose values range between 0-100%, all being repeated at a Refresh Rate of up to 40Hz over an XLR cable. Got it? Fantastic! What does that have to do with lights?!?
On the control side, a lighting console can be configured to associate physical controls (Faders) with a channel value. If you move the fader down, the value of its channel decreases (as low as 0%). If you move the fader up, it increases (as high as 100%). Our DMX signal is then transmitted over an XLR cable and connected to a DMX-capable lighting fixture. Another XLR cable is used to connect that fixture to the next fixture… then the next….then the next…etc. In other words, the DMX control signal is daisy-chained to multiple fixtures in the venue just as the previous graphic illustrates.
Now, each lighting fixture on the DMX chain can see all 512 values. We simply need to configure the lighting fixture to “tune in” to the channels intended for it. For example, a simple lighting fixture that does nothing more than dim between 0-100% might only require a single channel of DMX data. Using a button/display interface, DIP switches, rotary encoders, or possibly other means, we set the Address of the lighting fixture. If we wanted DMX Channel #1 to control the brightness of our fixture, we would simply set the Address of the fixture to 1.
We’ll talk about this more later in the course, but just know that each lighting fixture is different. Some only require a single address, some 5, some 100. It just depends on what kind of device you’re working with, and how many points of control it supports. No matter what though, they always have a way to set a ‘Base Address’ that represents the lowest numbered control channel for the fixture.
In the simple example described above, any movement of the lighting console fader associate with Channel #1 will result in a corresponding change in the dimming of our single-channel light fixture. Viola! You are now a master of DMX lighting control!