
Naming DMX Channels
With 512 channels of DMX data, it would be VERY difficult to remember off the top of your head what the function of each channel is by channel number alone. Thankfully, WinScript Live has a feature that allows you to assign a descriptive name to the channels. Let’s learn how these are configured!
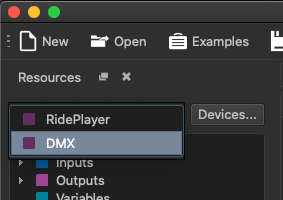
Continuing on using the script we created in the previous lesson, click the device selection box to the left of the Devices… button and select your DMX device.
Then double-click on the Device Variables resource.

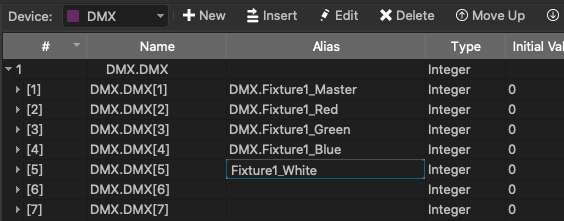
Click the arrow next to the DMX array variable to expand the array.

Now, you can see the individual channels of your DMX universe. As I mentioned before, it would be difficult to remember the function of a variable named DMX[3]. To resolve this little dilemma, you can type a descriptive name in the Alias column that represents the fixture and function of this DMX channel. Carrying on with my Amazon fixture example from earlier in this course, DMX[3] would control the intensity of the green lights in RGB Fixture #1. For that reason, I’ve chosen to name this channel Fixture1_Green so that I can easily remember this.
That’s all there is to it! Whenever you add a fixture to your DMX universe, just remember to use this method to assign descriptive names to the DMX channels so that they are easier to remember and control from within your show control script.
Speaking of control… let’s move on to the next lesson so we can tie this course up in a nice little bow and finally learn how to control your light fixtures within your script!