
Configuring DMX Addresses
We covered this topic briefly earlier in this course, but it’s important to have a solid understanding of how DMX channels and addresses work to ensure your lighting system works properly.
Remember that a DMX universe contains 512 channels, each with a value between 0-100%:

When you wish to add a DMX fixture to your lighting system, you should first figure out how many DMX channels it requires as well as the function of each. The best way I can think of to learn this concept is by example.
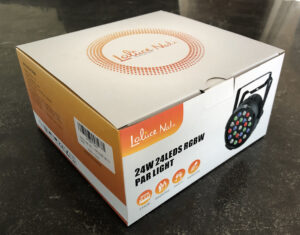
BEHOLD! Check out this sweet RGB fixture I purchased on Amazon:
Here’s what came inside the box:
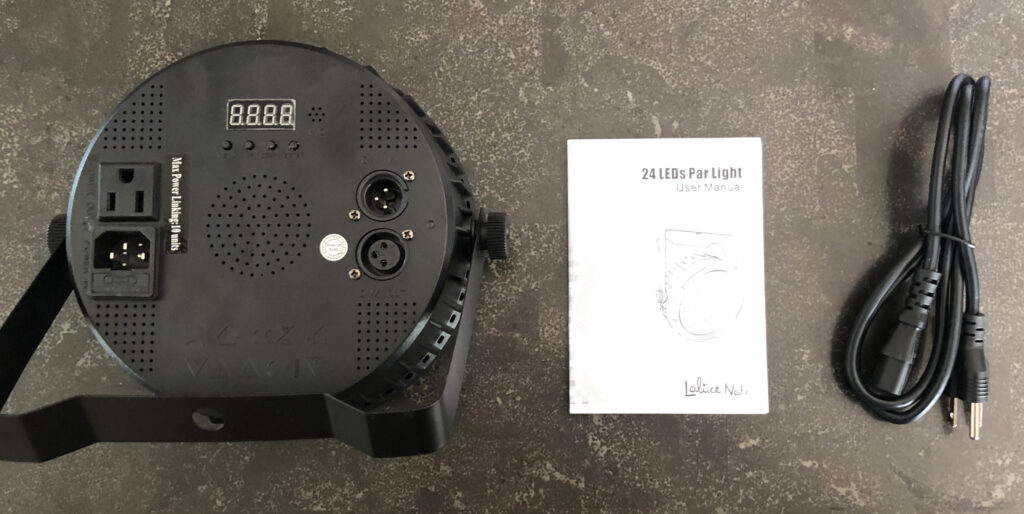
See that tiny white paper thing? It’s often mistaken for many things like junk mail, garbage, tissue, or a firestarter… but actually, it’s a very important document known as a User Manual. Let’s take a peek!
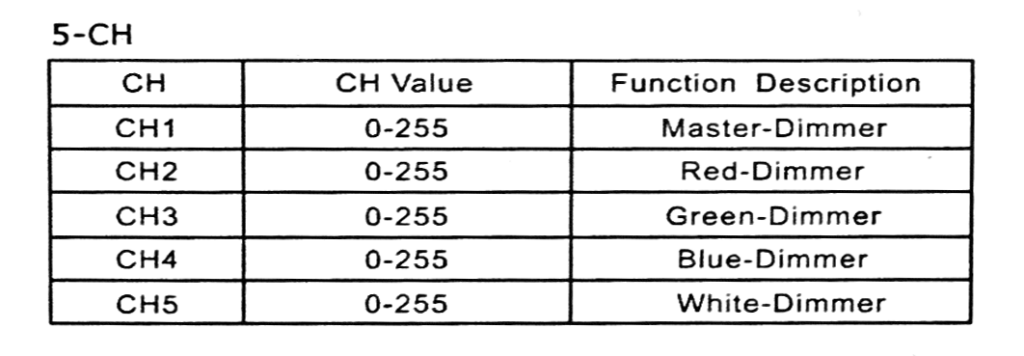
Jackpot! The User Guide was kind enough to tell me that this little beauty of a fixture requires 5 channels of DMX. Channels 2-5 each control the intensity of the individual colors within the fixture; Red, Green, Blue, and White. For example, a value of 255 (100%) on CH2 will turn on the Red LEDs to MAX brightness. If we leave CH2 at 100% and dial CH4 (Blue) up to 100%, you’ll have a nice bright PURPLE. Pretty simple, right?
CH1 functions as a ‘Master’ dimmer for all of the lights in the fixture. This value has a direct impact on the effect of the other 4 values, just like the Master fader on an audio console. For example, if I leave CH2 and CH4 at 100% and then set CH1 to 50%, the actual light output of the Red and Blue LEDs will be at 50% intensity.
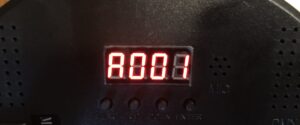
Now, let’s assign the base address of this lighting fixture so that it knows which DMX channels to associate with these 5 values. Like many DMX devices, this one has a little button/character menu interface. I can use this to set the DMX offset address which is depicted as ‘Axxx’ where ‘xxx’ is the offset address. Here’s what it looks like when I configure it for a base address of 1:
And here’s how that configuration aligns with our DMX Universe:

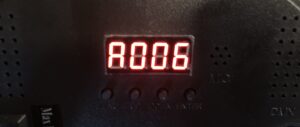
Let’s say I wanted to add a second light fixture of the exact same type. If I wanted both light fixtures to behave exactly the same, I could simply map both fixtures to A001. However, if I wanted to control them independently of one another, I would just configure it for a different set of channels by setting it to an address value like A006:
This lines it up nicely with our DMX channel map without interfering with our first fixture:

With these two fixtures mapped to my DMX Universe, I’ve used up 10 channels of DMX, leaving me with 502 more channels of freedom! Using the techniques described above, you can continue to configure each of your DMX fixtures with addresses that utilize this freedom wisely. Just keep in mind that not all fixtures utilize the same number of channels, so be sure to read that User Guide! Also, keep in mind that the address of DMX devices can be configured in many different ways. Very basic devices may use DIP switches or decimal encoders like this:
Other devices, like my awesome Amazon fixture, may use some kind of display with buttons or touch capability. Just know that whatever the method, these same key concepts always apply.
Now that our devices are configured, let’s learn how to get them under control!