Controlling DMX Channels
Here it is! The moment you’ve been waiting for! At this point, we have wired and configured the hardware of your DMX lighting system. We have also configured a show control script to enable DMX output functionality on your Alcorn McBride device and even named the DMX channels. Now it’s time to bring those channels to life!
Continuing with the script we created earlier in this course, let’s browse to the Sequences tab and click the New button to create a new sequence.

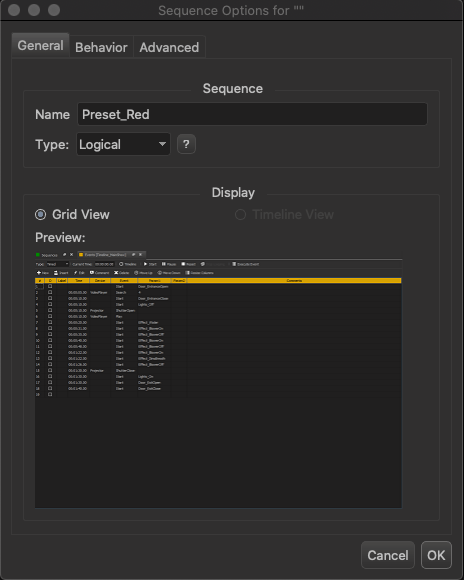
Let’s name the sequence Preset_Red and configure it to be a Logical sequence.

Next, we’re going to add a series of Ramp events within our sequence. This event has 3 parameters:
- Variable to Ramp – This is where you will plug in your named DMX channel
- Value – This is the target value that you wish to set on the specified channel
- Duration – This specifies the time it will take to reach the new value (for a smooth transition)
Enter in DMX.Fixture1_Master, 255, and 00:00:01.00 as shown in the following screenshot. This will cause the event to set the Master channel of the RGB fixture to maximum (255 or 100%) with a 1 second crossfade time.

Once you click Finish, the new event will be created.

Let’s repeat this process to add another Ramp event that sets the RED channel to maximum as well.

Excellent. Both of these events will ensure that both the Master value and Red value are set to maximum, which will result in the light turning on. Just to be on the safe side, we should also make sure all of the other channel values are in a known state. Let’s repeat this process for the remaining 3 channel values (Green, Blue, and White) to ensure they are set to a value of 0. This is what your event list should look like when you are finished.

Great! Let’s test it! Go ahead and click the Connect button and send your show control script to your Alcorn McBride device.

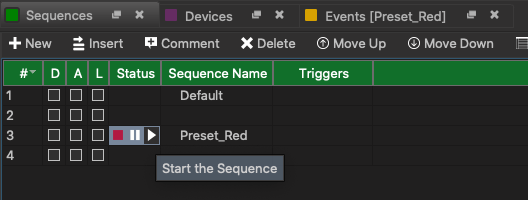
Once connected, click on the Play icon next to the Preset_Red sequence to run it.

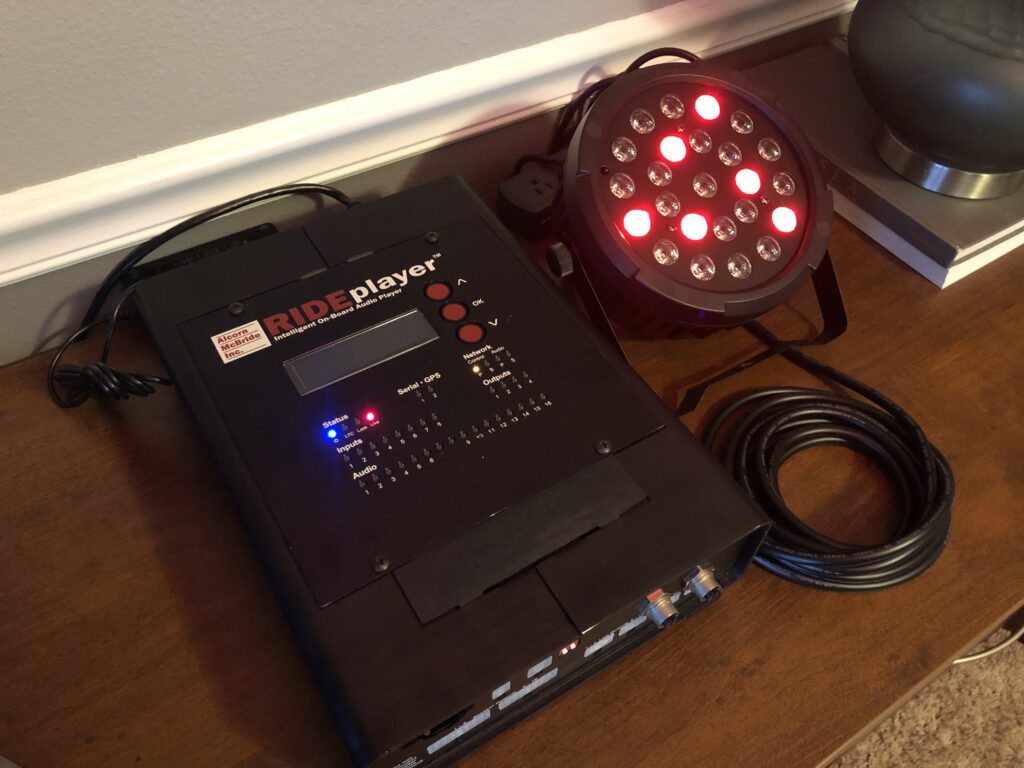
Wow! Would you look at that…

You are now the master of your own universe… DMX universe that is! You can now use the power of sequences and the Ramp event to control any number of DMX channels that you wish.
In the next lesson, we’ll learn how to leverage your new skills to build intuitive touch panel interfaces that you can use to control your lighting system.
