ShowTouch Control
You now have the power to control any DMX device that you wish in your show control script. But… wouldn’t it be even more AMAZING if you could control your light fixture(s) from a touch panel interface? With ShowTouch, this is a piece of cake!
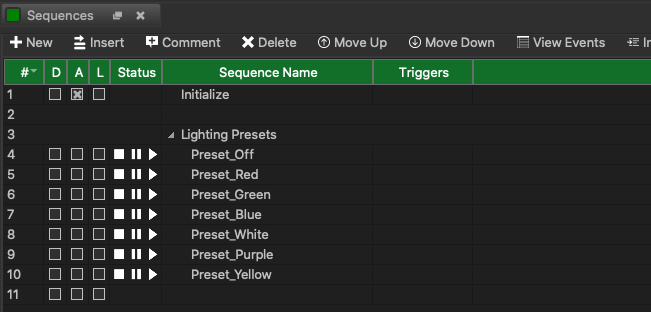
Before we get started, I’ve taken the liberty of using what we learned in the previous lesson to make multiple preset sequences to offer multiple color choices (including turning the light off!). Just so there are no mysteries, it looks a little something like this:
First, we need to create a new ShowTouch panel interface. This can be done by double-clicking the Panels resource in the Resources view. Once the Panels screen opens, click Add to create a new panel interface.
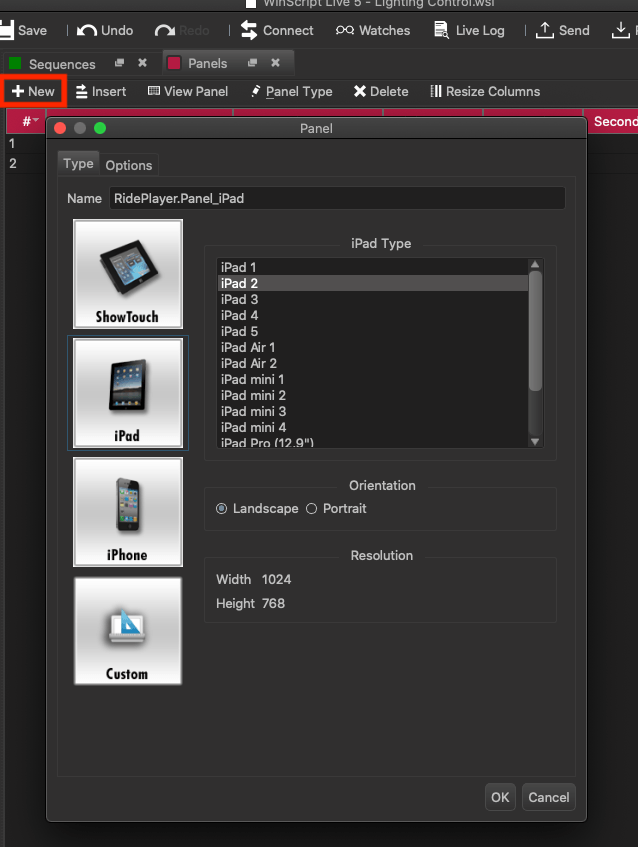
In this screen, you can give your panel interface a descriptive name and select the hardware you wish to use to display the ShowTouch interface. For this example, I’ve chosen to name my panel Panel_iPad and selected iPad 2 as the device. Click OK to finish creating the panel.
Next, we’re going to start editing the panel to do some interesting things with our light fixture. Go ahead and click on your new panel and then click View Panel in the menu bar above.

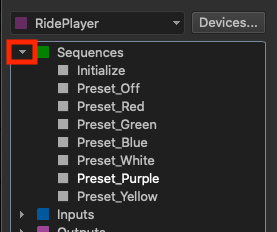
Remember those nifty preset sequences we created? Let’s browse for them in the Resources view by expanding the Sequences resource like so:
Now, click-and-hold the sequence Preset_Off and drag it over to the panel surface. A button will automatically be created that will trigger this sequence when pressed. Pretty easy, huh?
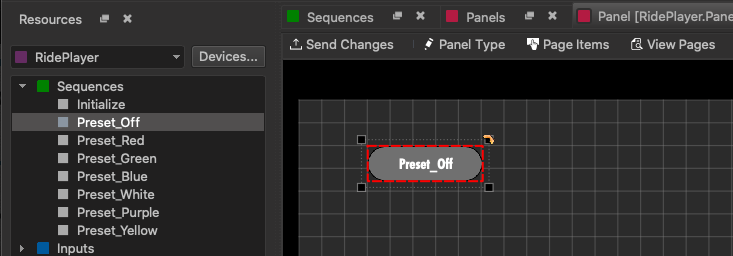
Feel free to repeat this with as many of the presets as you like! You can also change the button text by right-clicking and selecting Edit Appearance.
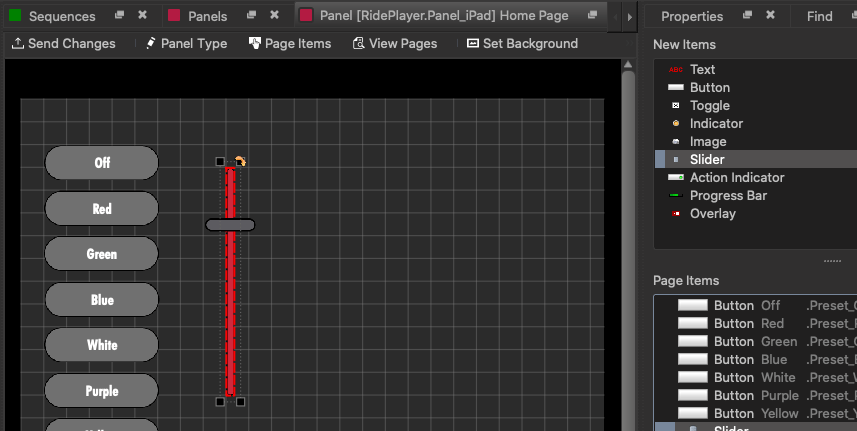
Next, grab a Slider item from the New Items view and drag it onto your panel surface like so:
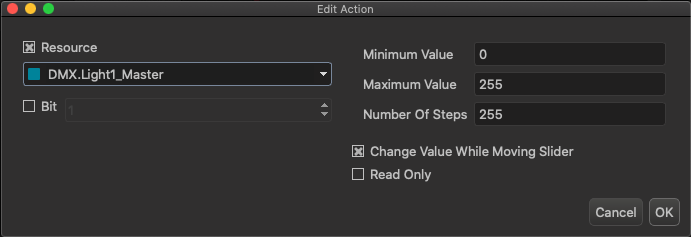
Right-click on the new slider you created and select Edit Action. Select the DMX channel that you named DMX.Fixture1_Master. Enter 255 in the Number of Steps field and then click OK.
This new slider will now change the Master DMX value in real-time whenever you drag the slider knob.
Now grab a Text item from the New Items view and drag it just below your new slider.
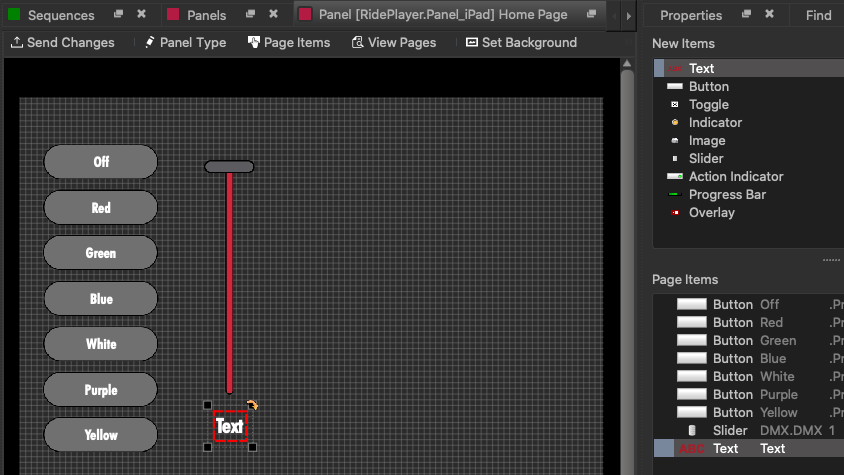
Now, right-click on the new text item and select Edit Action. Then choose DMX.Fixture1_Master once again. This will cause the text field to display the DMX value of the Master channel in real-time so you can see what’s going on.
Rinse and repeat for the remaining four channels! You can even add a few labels to make things snazzier if you wish…
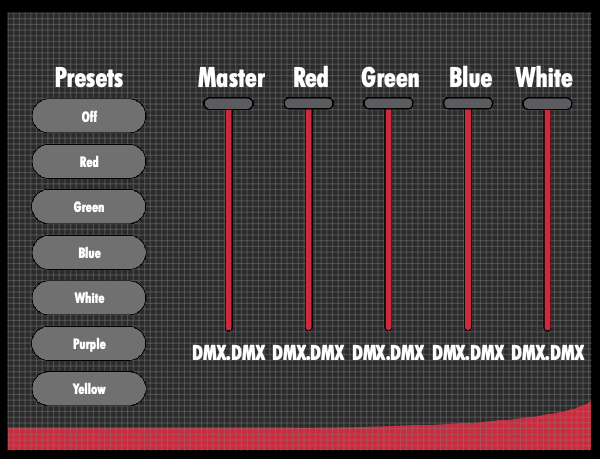
When you connect to you Alcorn McBride device, this panel will come alive and give you the ability to recall your presets and/or manually change the DMX values of your RGB fixture.
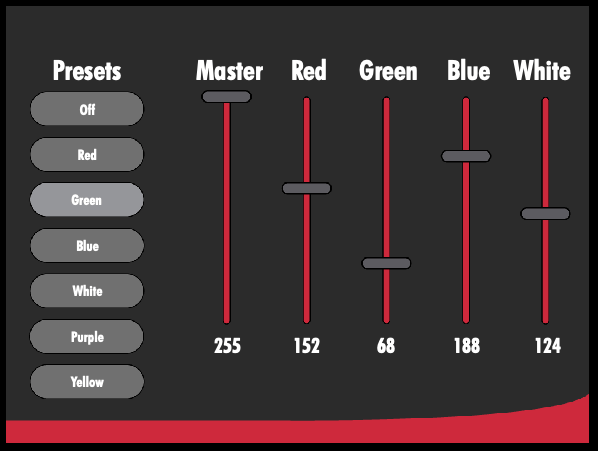
Notice how the slider values automatically change when you click the presets. This change will happen gradually over 1 second since we specified this as the crossfade time within our Ramp events.
This is just a simple example of course, but this is an obvious way that ShowTouch can add a tremendous amount of capabilities to control and monitor your lighting system.
