Products Designed for Themed Entertainment
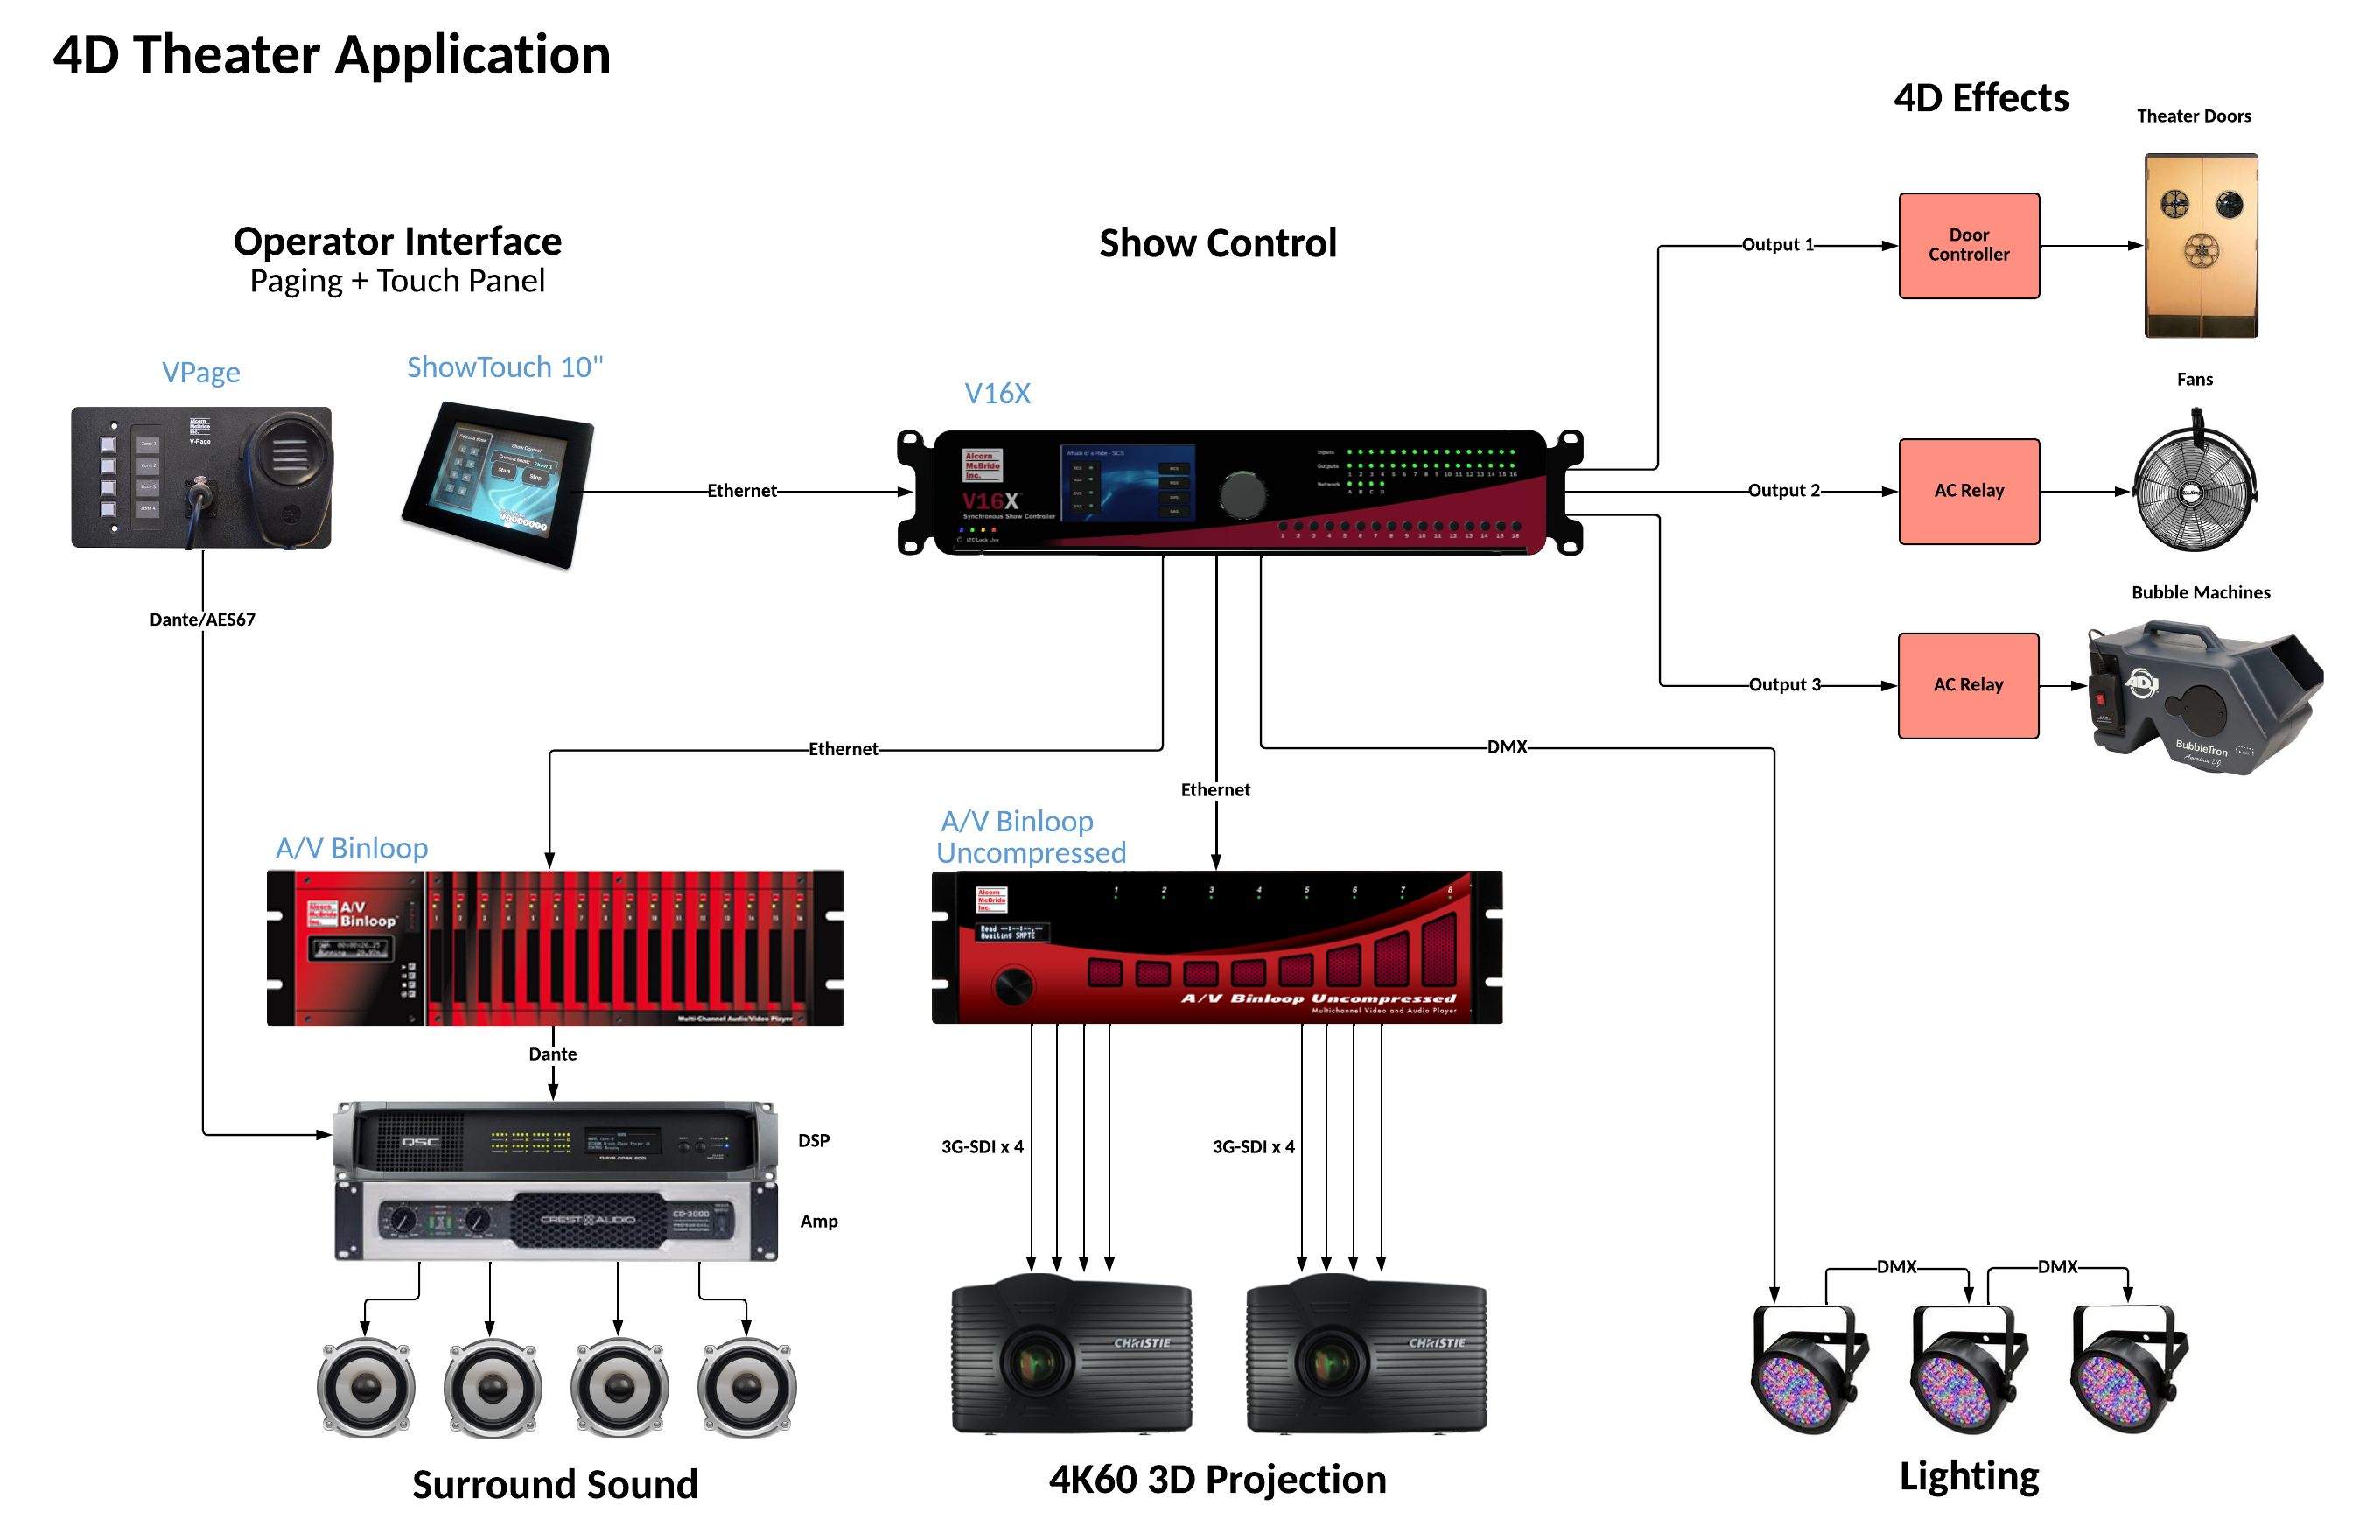
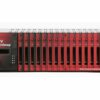
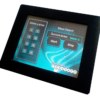
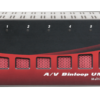
4D theater attractions are a staple of themed entertainment that typically consist of high-quality 3D projection, surround sound audio, lighting, and effects like water, bubbles, fans, scents, etc. The need for perfectly synchronized high-quality AV and special effects make Alcorn McBride products the right tool for the job. The AV Binloop Uncompressed offers stunning and smooth 3D 4K60 video playback with an easy workflow and zero maintenance, while the AV Binloop reinforces it with synchronized audio. With the V16X show controller and our ShowTouch panels at the heart of the system, you can control any DMX-based lighting fixtures or IO-based effects while providing operators with easy touch panel control, scheduling, and monitoring of the system.
